Here's a step-by-step guide for installing zapAudit and zapCash on your system. Note that administrator rights are not required for installation.
Step 1: Download the Setup File
To download the software, please get in touch with us or send an email to support@zapliance.com. We'll provide you access to the software.
Step 2: Installation Process
-
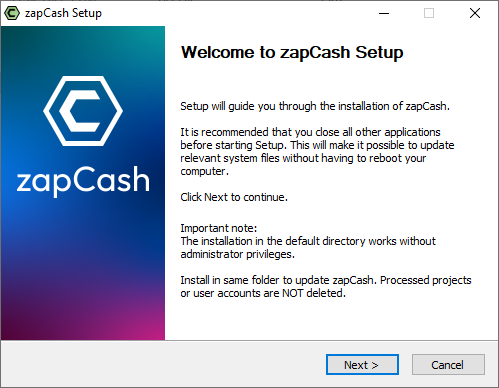
Run Setup File: After downloading the setup file, run it on the target computer. You may encounter a Windows security warning or a notification from your antivirus system.
-
Starting Installation: Click on "Next" to begin the installation process.
-
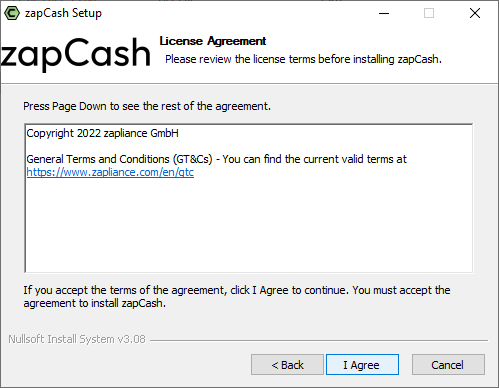
Accept Terms & Conditions: You'll need to accept our Terms & Conditions to proceed. If you've already accepted these during the license purchase, proceed by clicking "Next".
-
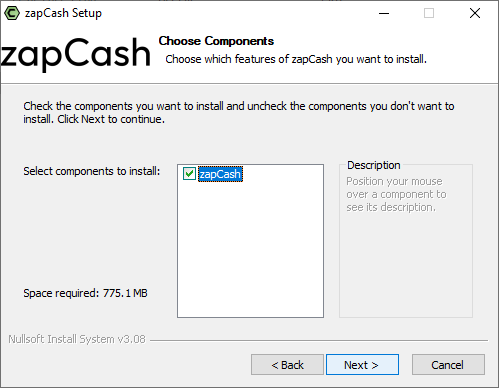
Select Software: Choose between "zapAudit" or "zapCash" and click on "Next".
-
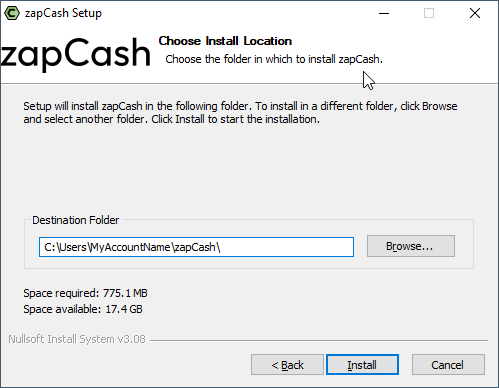
Choose Installation Location: Select the preferred installation location and click "Next".
-
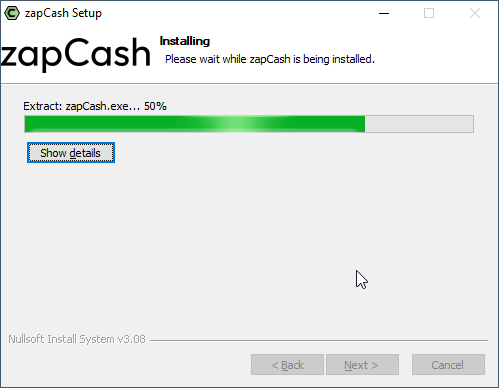
Installation Progress: The installation process will commence.
-
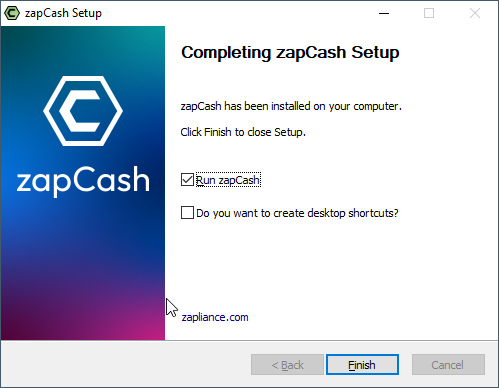
Completing Installation: Once the installation is complete, you can start zapAudit/zapCash immediately and create a desktop shortcut. Click on "Finish" to proceed.
-
Run zapAudit/zapCash: If you choose to run the software immediately, a command window will briefly open in the background. Keep this window open to allow the software to run.
-
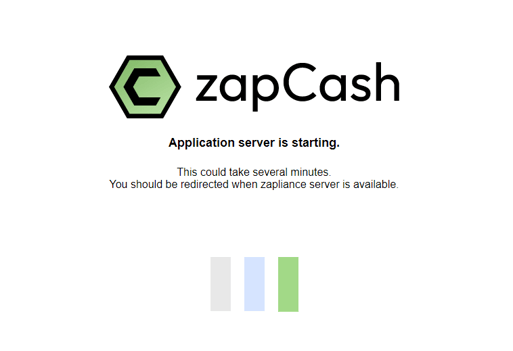
Boot-up Process: As the software boots up, a loading screen will be displayed. This may take several minutes but typically lasts between 10 to 40 seconds.
-
Start Page: Once the system has fully booted up, you'll be redirected to the start page of zapAudit/zapCash in order to create the first user with admin rights.
-
Please follow further instructions: Follow the guide on how to start the data extraction to start a new project.